Tips for minimizing this common problem
Have you ever wondered why your telephoto shots sometimes look blurry or distorted on hot days? The phenomenon you may be experiencing is called heat shimmer, and it can have the potential to negatively affect even the best photo moments. In this blog post, we’ll look at heat shimmer and talk about tips on how you can at least minimize this problem.
What is heat shimmer?
Heat shimmer is an optical phenomenon that can occur when using telephoto lenses, especially long focal lengths, in hot weather conditions. It is caused by differences in air temperature and density, which can lead to distortion or a flickering effect on your images. This flickering can blur images and affect the overall image quality.
It occurs due to differences in air temperature and density.
Even in cooler environments, wind or air currents can cause heat shimmer.

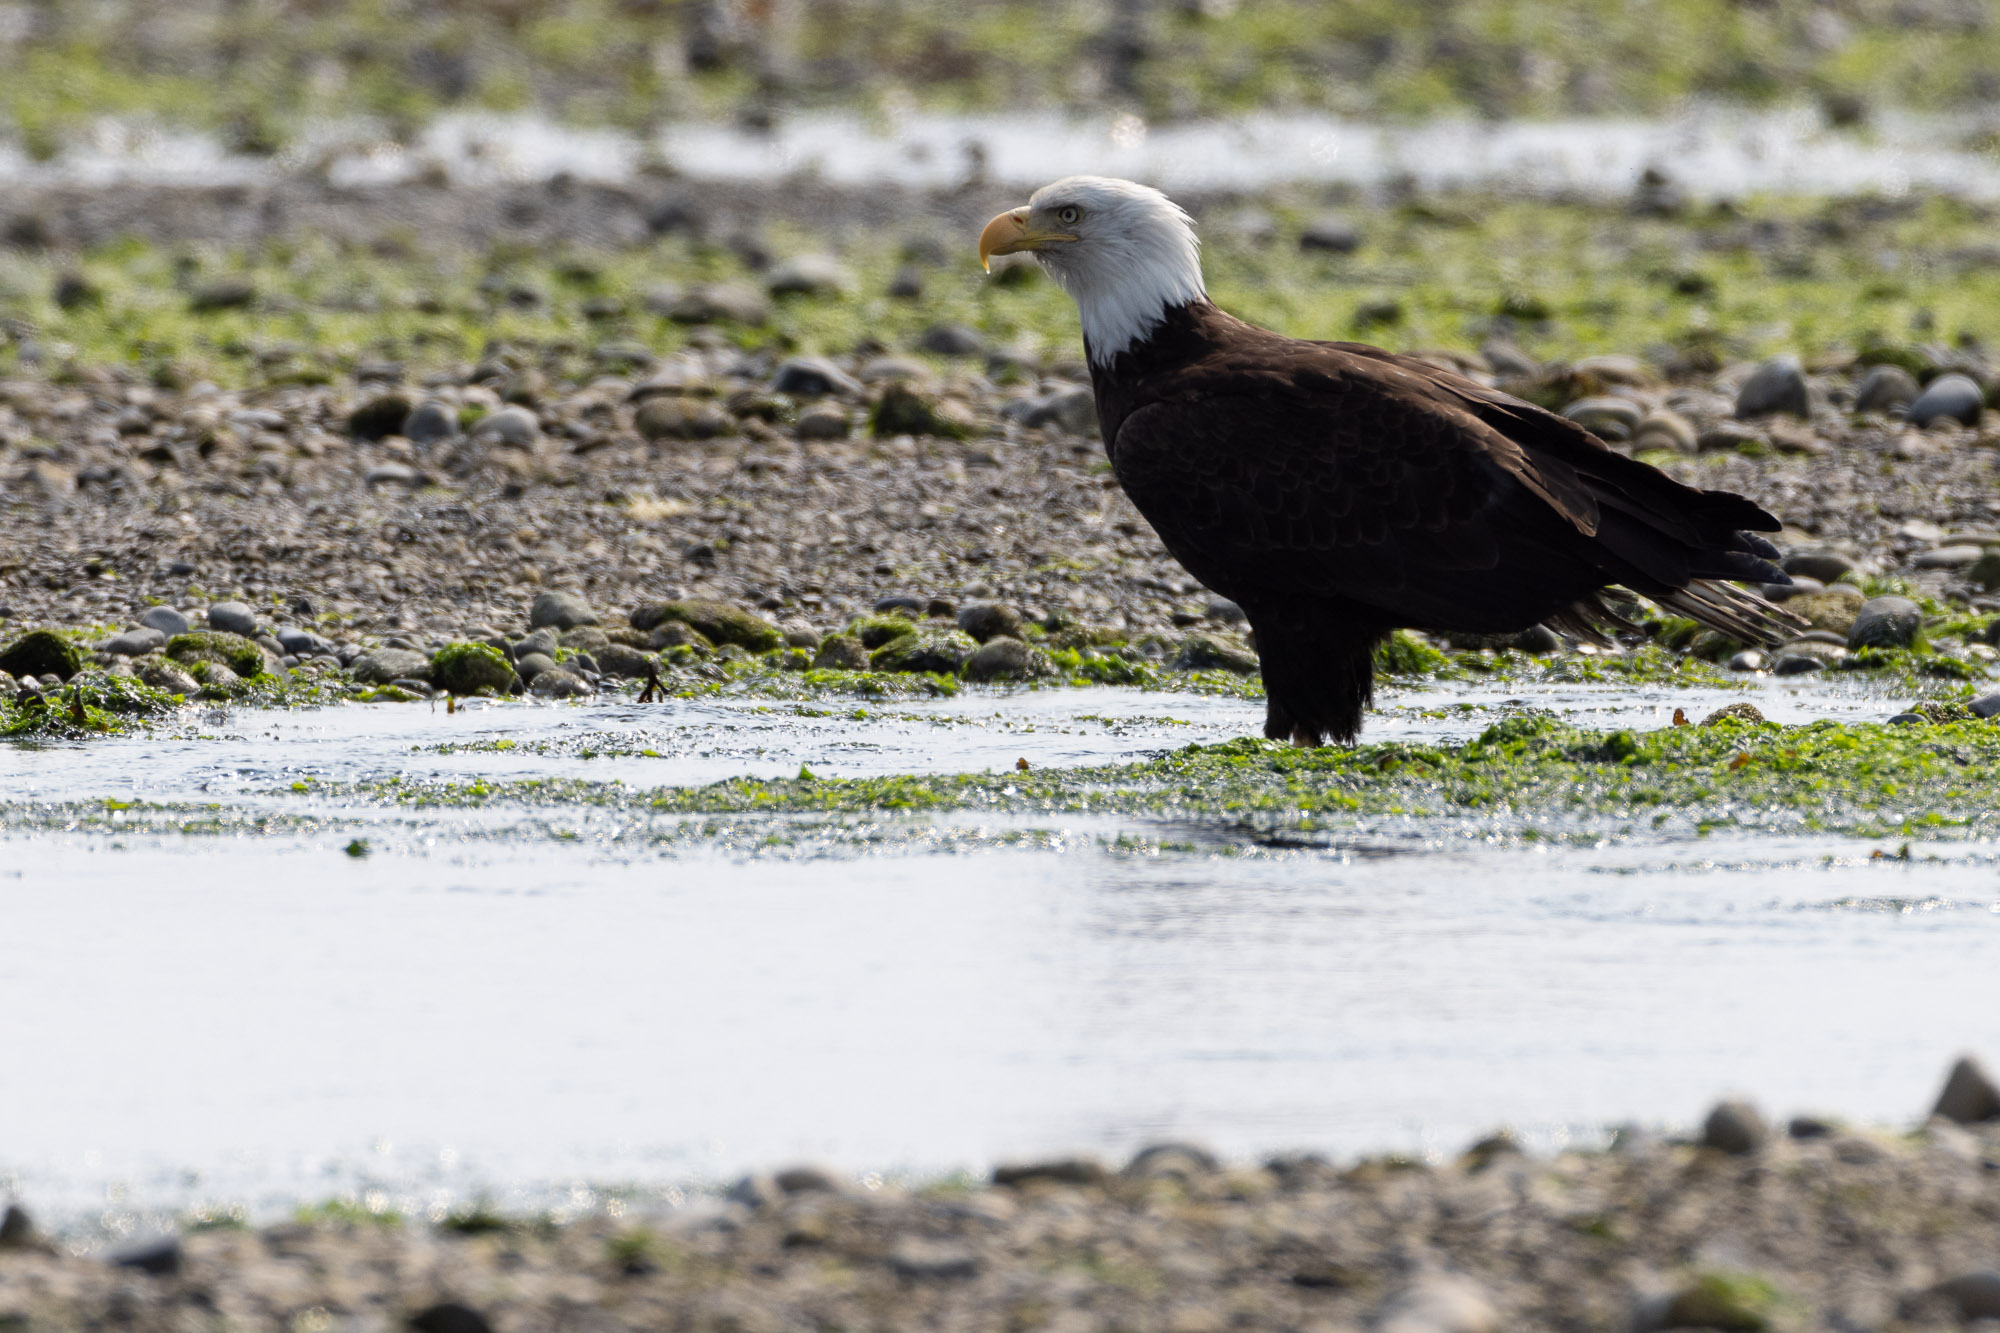
In this shot (with 800mm focal length) of a bald eagle in British Columbia (Canada), the heat flare is clearly visible. It is a good example of a bad shooting situation. Further shots in this situation were pointless as it was not possible to get close to the eagle.
In my opinion, too little attention is often paid to this issue, which is a common cause of blurred images.
In my experience, heat shimmer is often overlooked as a cause of poor quality images, although it is a common cause of blurred or distorted images. However, it is important to be aware of this problem in order to achieve the best possible results and avoid heat shimmer.
How can I avoid heat shimmer or minimize the effect?
- Choose the right time to shoot: Try to shoot during the cooler hours of the day when the air temperature is lower. The early morning or late afternoon and evening hours often offer ideal conditions to avoid heat shimmer.
- Avoid very hot surfaces: Make sure there are no hot surfaces (e.g. shallow lakes, road in the background) near the subject as they can cause heat shimmer.
- Get closer to the subject: Try to physically get closer to your subject instead of relying solely on long focal lengths. Being closer to the subject will reduce the impact of heat shimmer as you are shooting through less dense and cooler air.

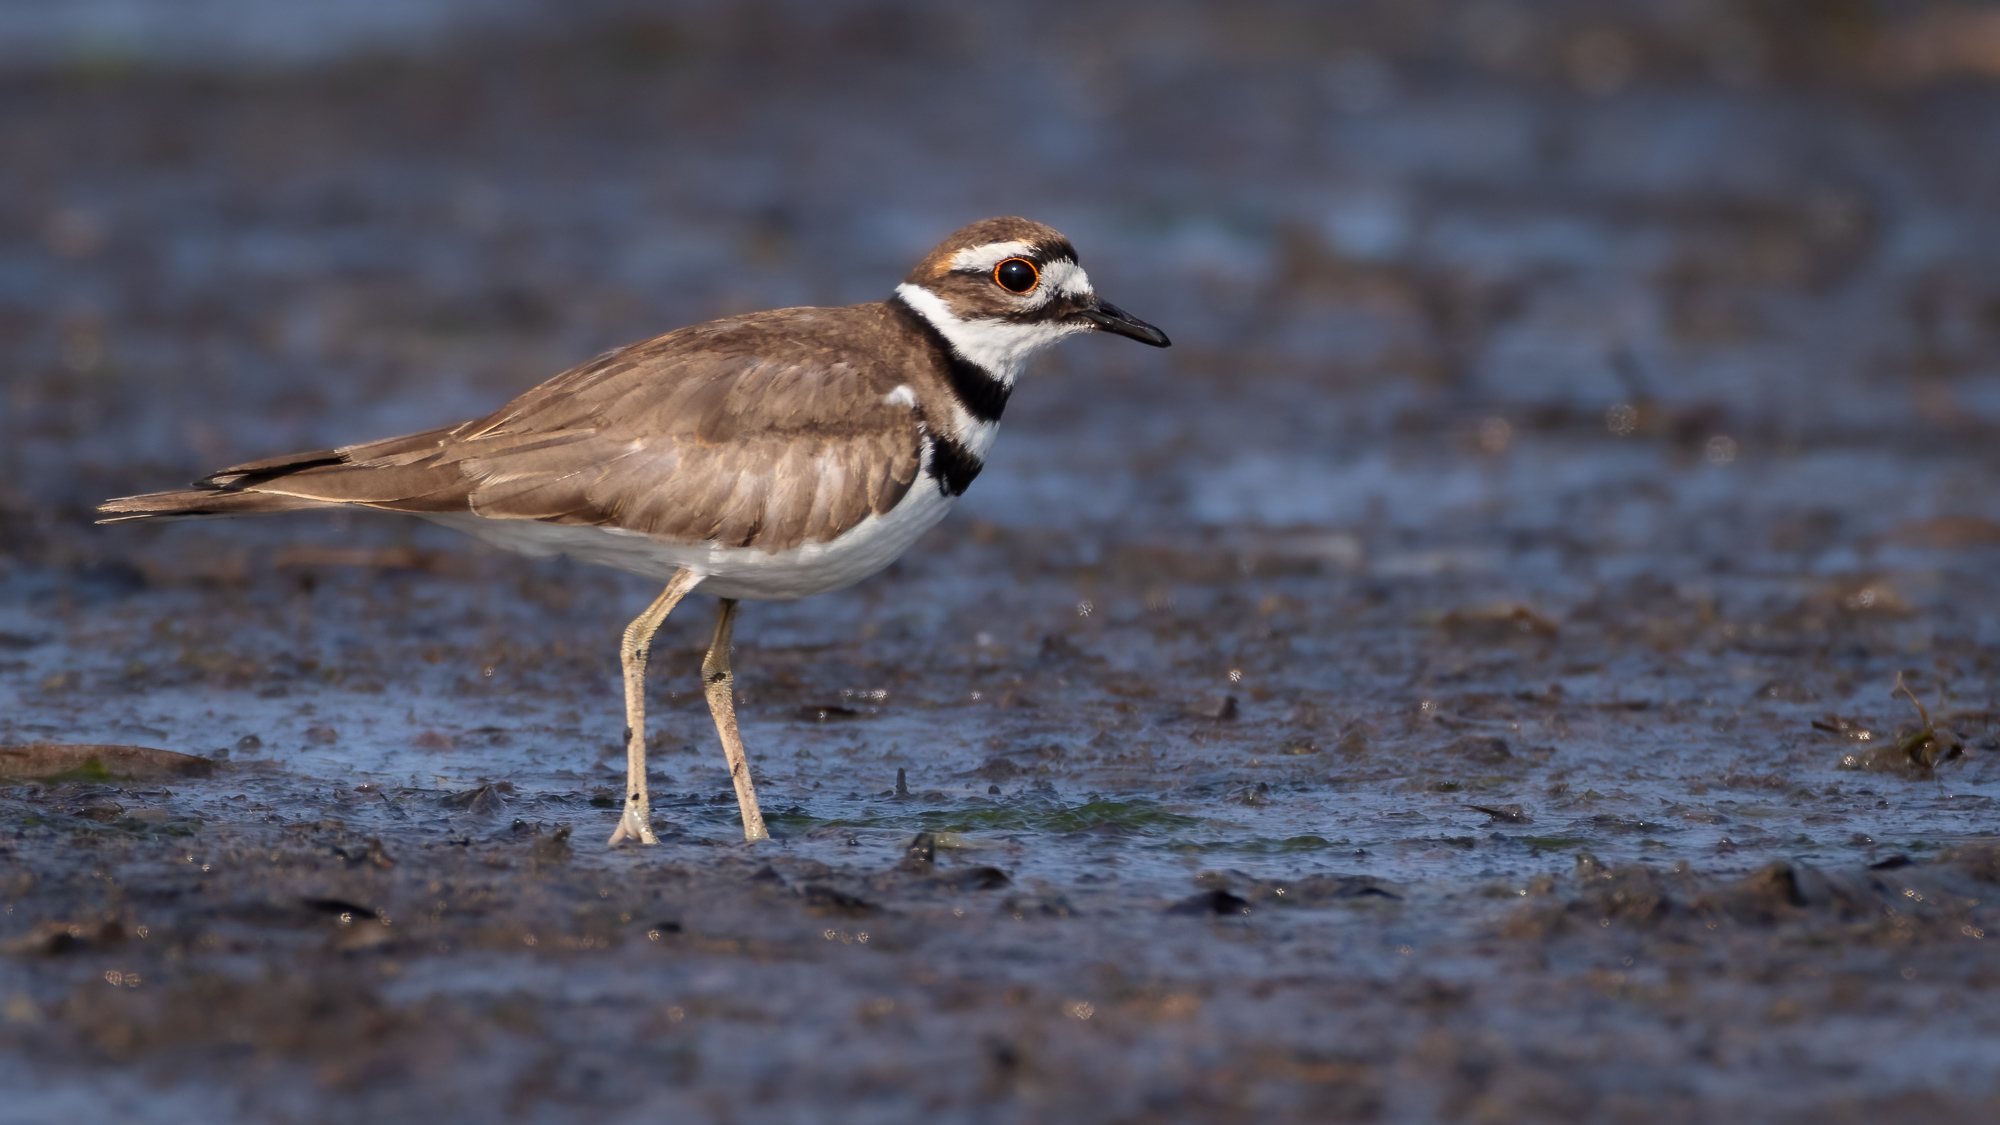
This picture was taken only a short time later, also at 800mm. However, I was much closer to the subject for this shot. The result is a usable image, the heat flare is barely visible.

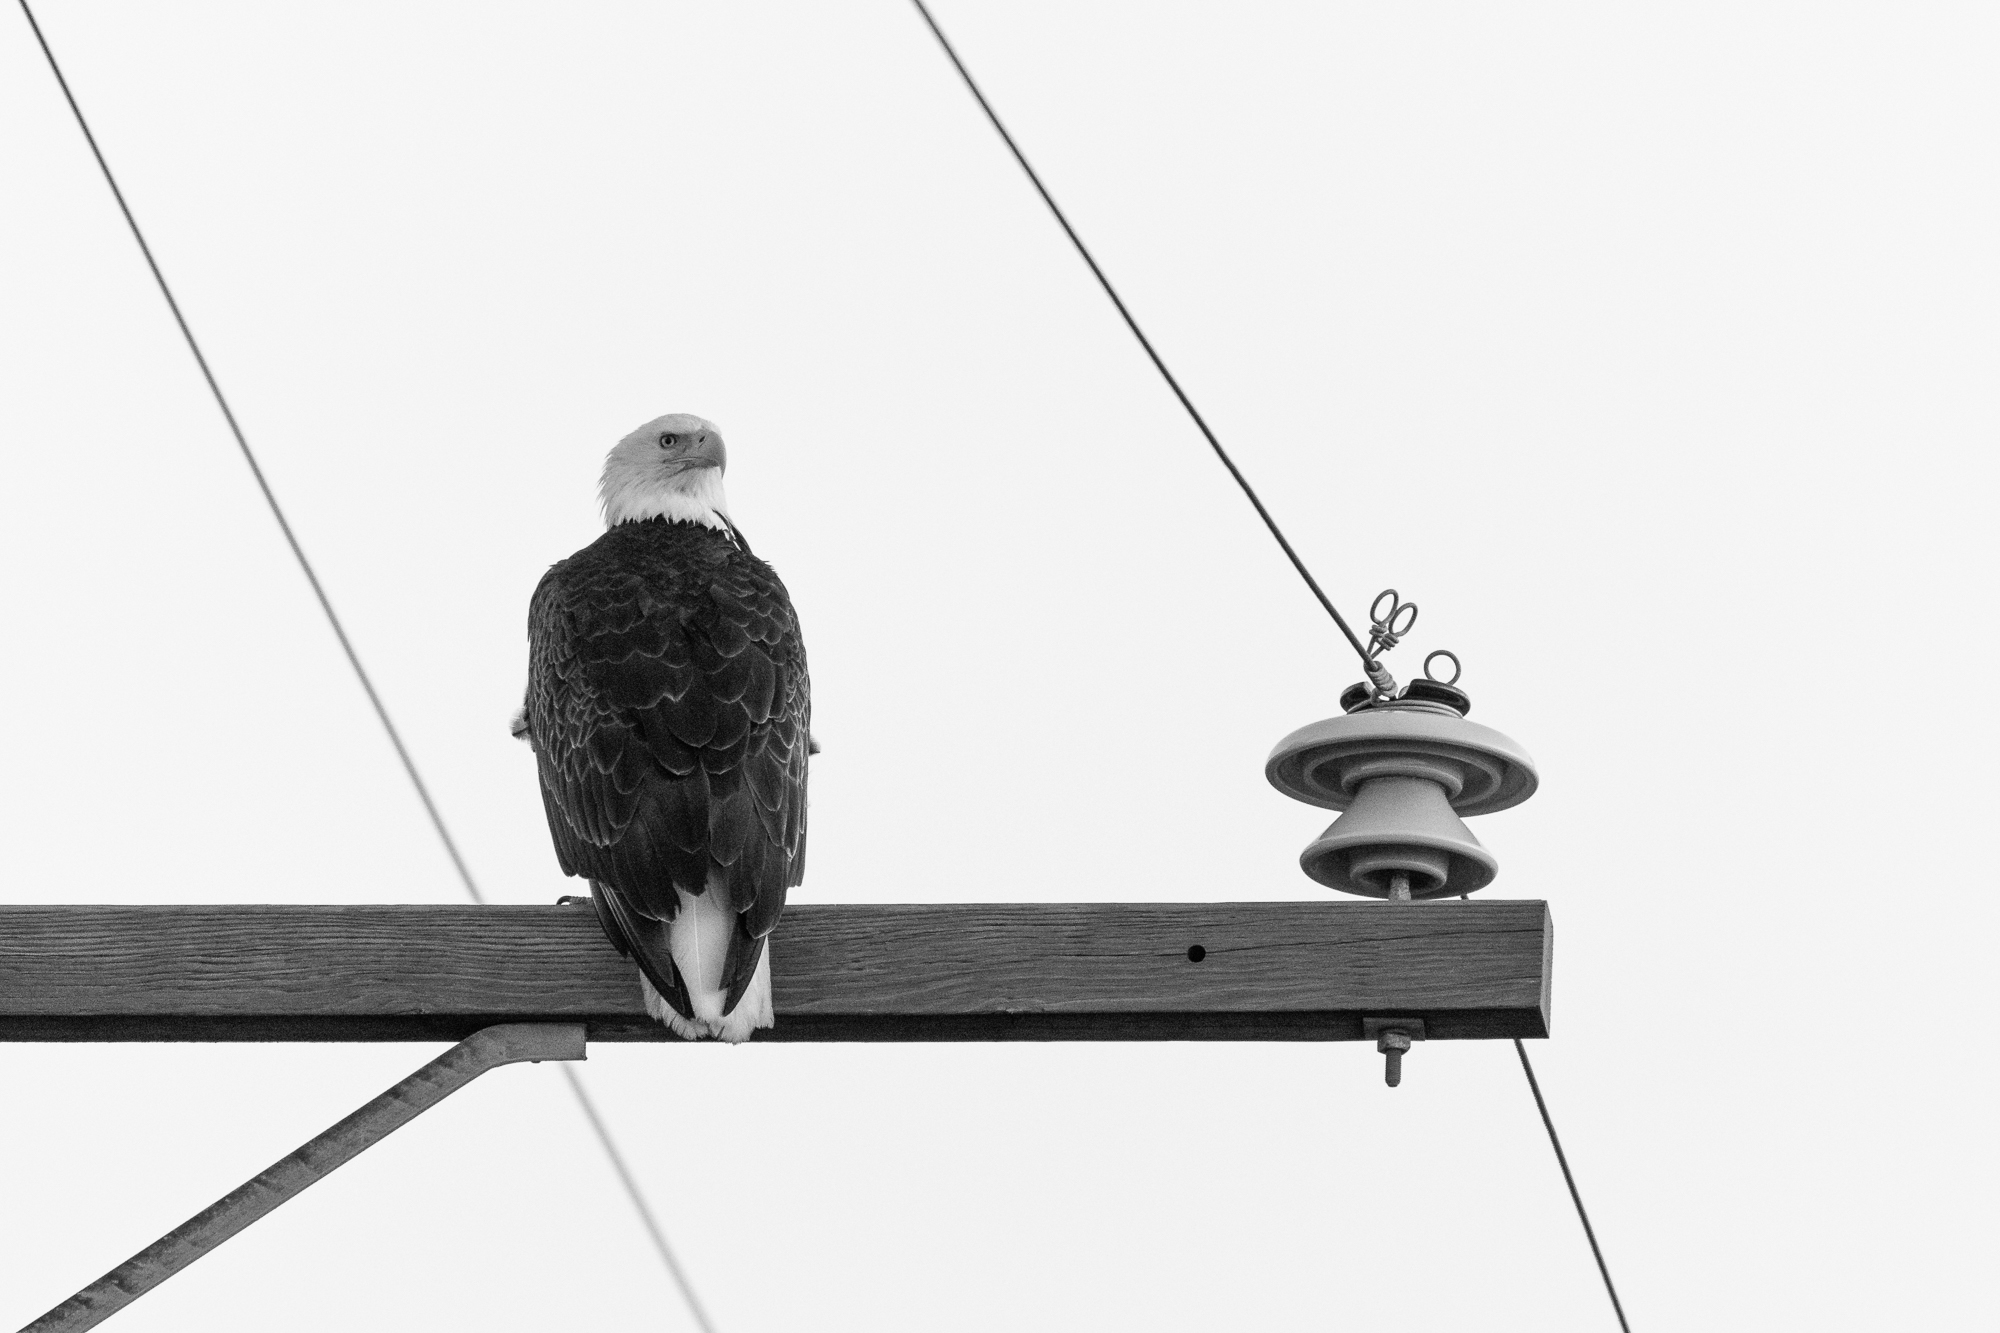
This shot was taken in the evening of the same day, also at 800mm. The air had cooled down considerably, so clear shots were possible without annoying air flicker.
My conclusion:
Heat shimmer is a natural effect that is unavoidable in certain situations. However, there are steps you can take to minimize its impact on your photos. By choosing the right time to shoot, avoiding hot surfaces and physically approaching your subject, you can have a better chance of achieving clear and sharp shots. Consciously dealing with heat shimmer can make the difference between average and stunning images. So, be aware of this phenomenon and use these tips to improve your wildlife photography.
